


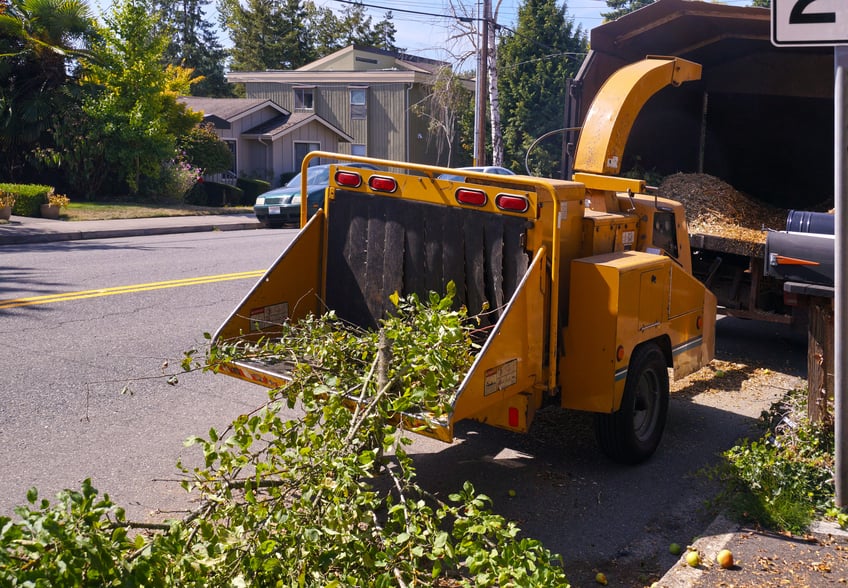
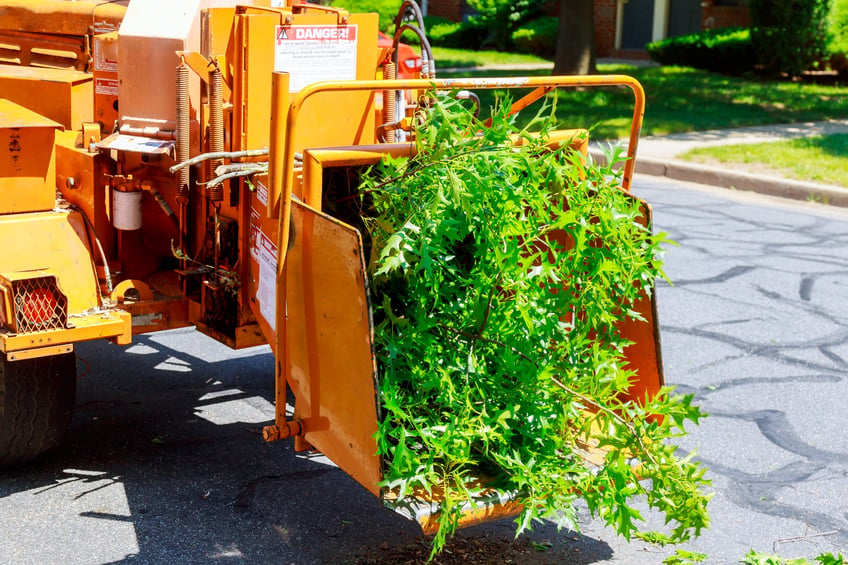
Wood chippers provide a fantastic solution to a number of issues, especially in residential areas. They’re useful for clearing large piles of branches, logs, twigs and leaves to allow for cleaner, safer working areas.
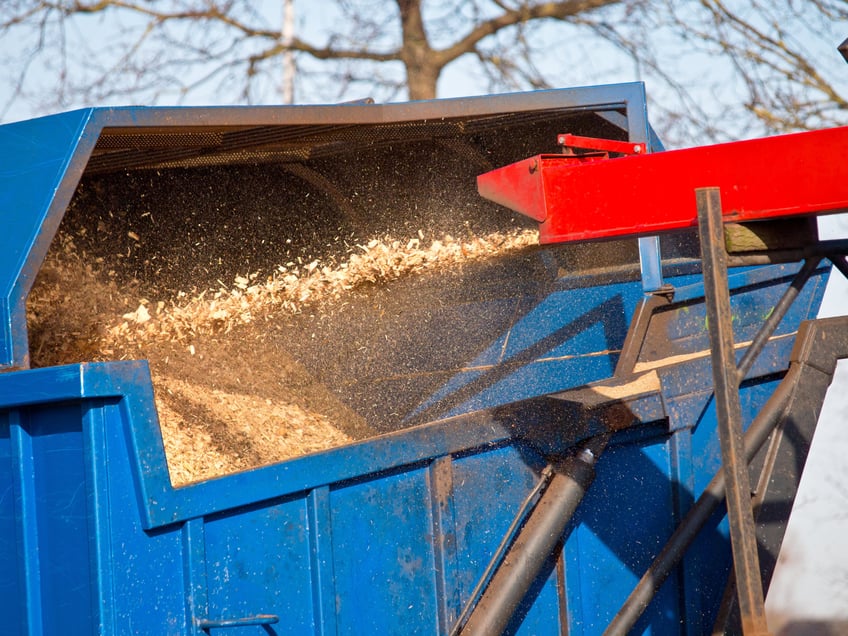
The otherwise useless debris found in your backyard is repurposed by the wood chipper, too. Wood chips and leaves are a primary component of garden mulch - so the next time you’re looking to trim a tree, why not recycle what you can’t use? Mulch can be used to keep the soil cool, suppress weeds, retain moisture in the soil, and make the garden bed look more attractive. Organic mulches will also help improve the soil’s fertility as they decompose.
Whether you’re about to tackle a major gardening project, or you just need to clear out some space in the yard, wood chipper hire is a safe bet to efficiently clean the area of debris. Check out iSeekplant’s comprehensive guide on how to use a wood chipper below!
Once you’ve settled on a reliable wood chipper hire supplier, have a look at these instructions to operate the machine. It’s important to understand how to safely and efficiently operate the chipper before you start feeding your entire backyard into the machine.
1. Place the wood chipper on flat ground
Before you start the wood chipper, always ensure it’s on an even, solid surface. This reduces the risk of injury, as well as the machine moving or tipping during operation.
2. Adjust the chip chute and chip deflector
The chip chute and deflector allow you to have control over the direction and distance the wood chipper will throw the chips. Most wood chipper hire options will have a couple of clamp knobs on the deflector that can be easily adjusted to control the throw distance. Rotate the chip chute for accuracy - it’s a good idea to aim it towards a storage container (like a wheelbarrow) to keep a clean workspace.
3. Engage the parking brake and start the wood chipper
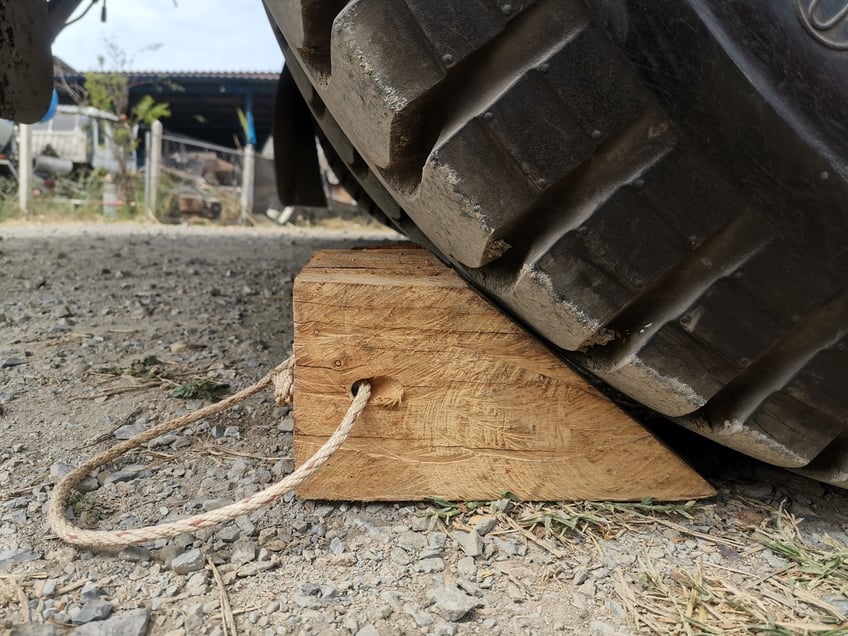
Always make sure you’ve set the parking brake prior to starting the wood chipper. This is a crucial safety measure and ensures your machine won’t be going anywhere once you start feeding debris through it. Placing wooden chocks underneath the wheels as an added safety precaution is also recommended.
4. Always feed the blunt end first
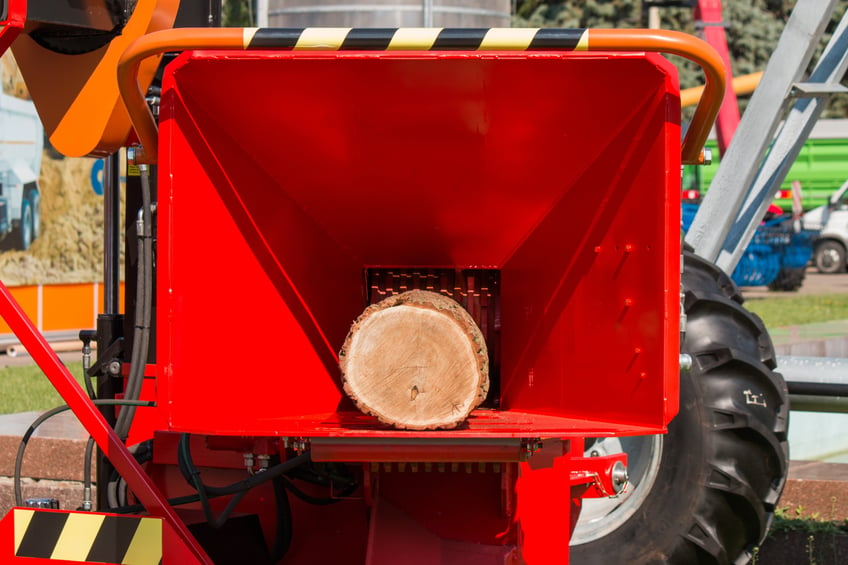
The wood chipper will be able to process the blunt end of the wood with greater ease. Always slowly feed the thickest end first so the wood chipper can easily grab the branch.
5. Feed a mix of green and dry limbs
The moisture in green tree limbs will assist with the lubrication and cooling of the wood chipper knives. It’s worth keeping this in mind as you feed through your debris - it may make the process a lot smoother for you.
6. Stand clear of the hopper
Always back away from the hopper as you’re feeding branches into your wood chipper. The likelihood of you or someone around the site being struck by wood chips is drastically increased if you’re near this part of the machine.
7. Repurpose the wood chips
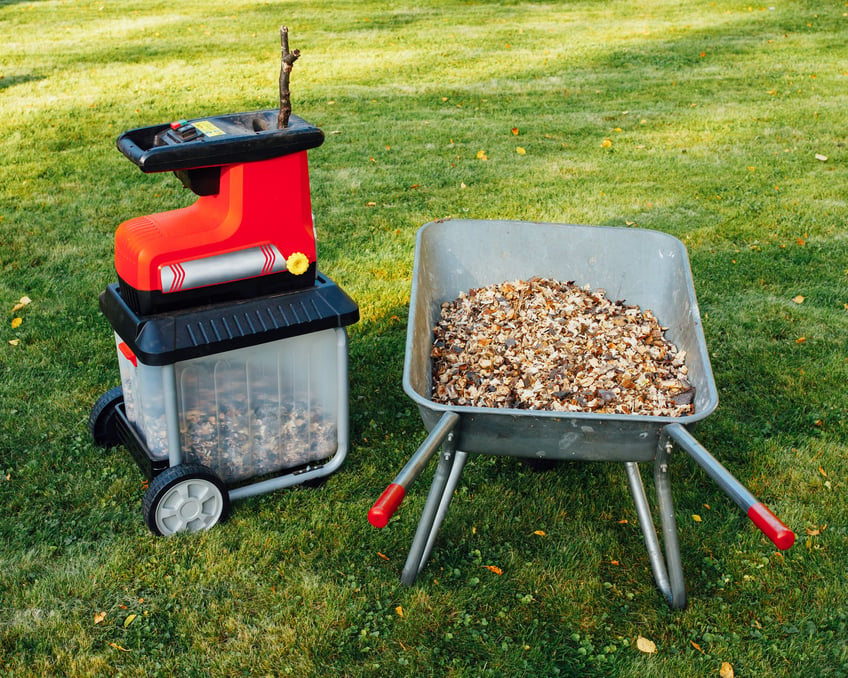
Now that you’ve finished feeding your logs, twigs and tree limbs into the machine, it’s time to recycle those wood chips into mulch!
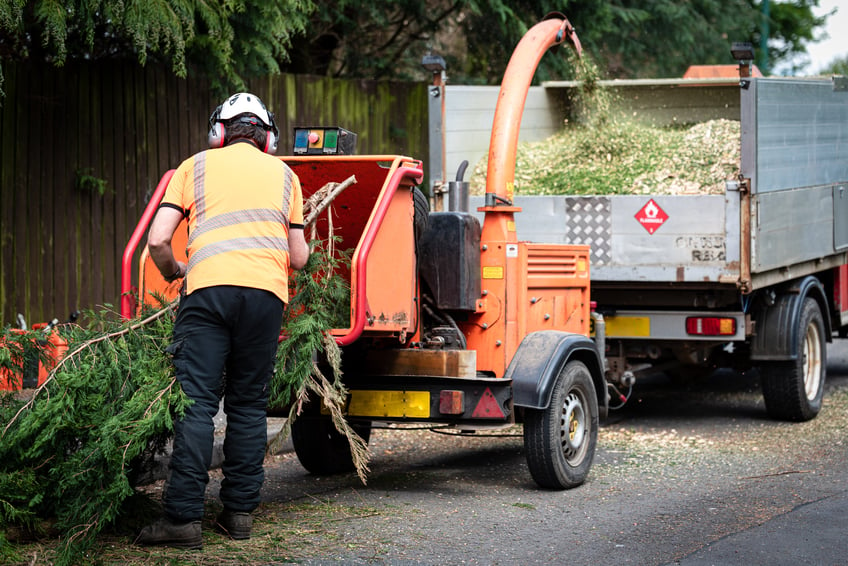
Wood chipper safety tips.
Always ensure you’re exercising a great deal of safety when you hire a wood chipper. Investing in gardening gloves, tight-fitting clothing, and eye and ear protection is crucial before you start working. If you’re using your wood chipper hire at home, make sure everyone in the area knows not to approach you or the machine while it is in operation. The chip chute should be directed away from all cars, windows, and pathways where people may walk. It’s worth reading the wood chipper manual before you fire up the machine, too.
How does a wood chipper work?
Most wood chippers will have the same function, regardless of the make or model. The machine is usually powered by a fuel engine, although electric wood chippers are becoming more and more prevalent in Australia.
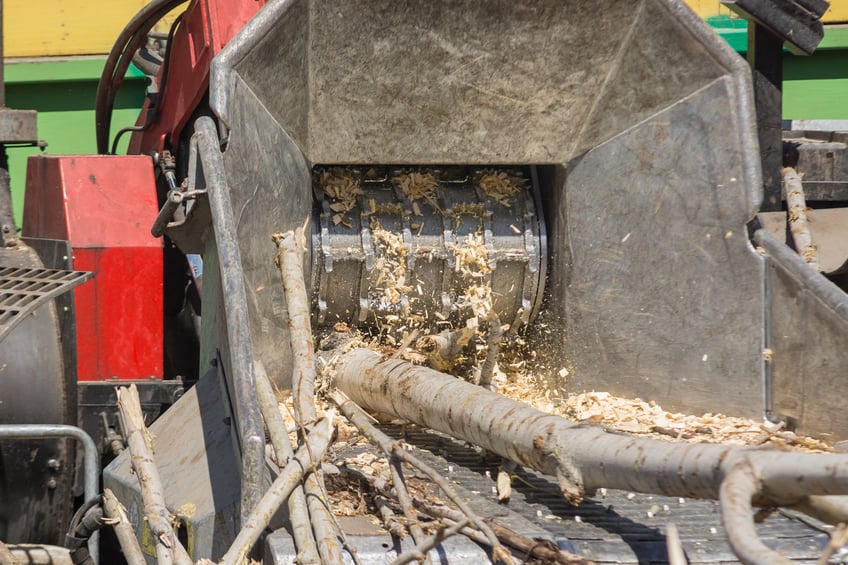
A gearbox uses v-belts and pulleys to connect the engine to a set of sharp knives. The v-belt transmits the power from the engine, while the pulley enables the engine to control the speed of the blades. The wood chipper is usually equipped with gears that control power and speed, too.
There are two chutes that process wood in wood chippers. The first chute shreds branches into chips, and is the smaller option of the two. The second chute is noticeably bigger and features blades that turn excess plant material (like leaves) into mulch.
Typically, the larger the machine, the larger the load of wood it can handle. Blades will either operate with separate shafts or intermesh - if there are several blades rotating on independent shafts, the wood will be repeatedly cut down as they are passed through the blades at a fast pace. Intermeshed blades are somewhat slower, but are self-feeding as they draw the branches into the blades themselves. Intermeshed blades also ensure that the wood chipper chip size is consistent.
Where can I hire a wood chipper?
Need to hire a wood chipper but don’t know where to start? Look no further than iseekplant. We’re Australia’s largest online construction marketplace, with thousands of suppliers listed all over the country. From chipping and mulching hire to tree lopping hire, stump grinder hire, slasher hire, hydro mulching hire and more!
When to sharpen wood chipper blades.
Depending on the manufacturer, chipper blades will need sharpening after 25 hours of use. If you don’t use the machine frequently, once per year is a good rule of thumb. It’s important to keep your wood chipper blades sharp to allow for maximum efficiency and decrease the risk of machine failure.
How to sharpen chipper blades
- Remove the blade
- Decide on a tool to sharpen the blades
- Replace the blades
1. Remove the blade
First and foremost, you’ll need to safely remove the blades from the wood chipper to sharpen them. This process varies from machine to machine, so a good first step is to find your wood chippers manual online and follow the steps outlined. That being said, most wood chippers will follow the same methodology to remove the blades, which is:- Remove the top hopper
- Remove the housing
- Loosen the bolts securing the blades
- Remove the blade
2. Decide on a tool to sharpen the blades
There are several tools you can use to sharpen your wood chipper blades. These include:- Wet wheel grinder
- Disc sander
- Belt sander
3. Replace the blades
Once your wood chipper blades are sharpened, ensure you safely replace them back onto the machine, with all housings, bolts and nuts securely fastened prior to operation.
Can a wood chipper shred paper?

Yes, wood chippers are able to shred large amounts of paper. This task can be otherwise very tedious if you use a traditional paper shredder. However, it’s important you set the control box on the chipper to ‘small’ or ‘fine’ prior to operation.
Can a wood chipper shred plastic?

Although wood chippers can shred through some pieces of plastic, it isn’t recommended to put any type through your machine. Bigger pieces of plastic can harm wood chippers and increase the chance of a blockage. Since heavier plastics cannot be shredded finely, it’s likely to be expelled from the chipper at high speeds and left with ragged edges that can easily cut someone.
Can a wood chipper shred tires?
Although it may sound like a great plan, putting your old tires through a wood chipper is not a good idea. Most tires have steel belts placed inside them which can cause serious, immediate problems to wood chippers. Feeding a tire through a chipper is a great way to dull blades and break the machine.
Subscribe to the iseekplant Constructionsht blog for the latest industry, project and DIY info!