Let’s face it, painting with a roller can be an incredibly tedious process (to say the least). And unless you’re a seasoned veteran, or pay incredibly close attention to detail, it’s not unlikely that you’ll leave marks on the walls if you’re painting indoors. Rollers are also pretty inefficient when you compare them to the alternatives that are available on the market.
Paint faster with compressor hire
A reliable choice to quickly and precisely execute your painting project is to use an air compressor and a paint sprayer. The combination of these two devices allows you to cover more space at one time and can help you make sure that you get an even coat of paint on your surface. Follow iseekplant’s guide to air compressor painting below and achieve professional results from your hard work!
Preparing for painting
It’s important to properly prepare before you go and attach your air compressor to a paint sprayer and blast your roof with the baby-blue you’ve just picked out. First of all, choosing the right type of paint thinner and paint is crucial. Most sprayers will work best with oil-based paints, but both acrylic and latex paints will work as well.
You’re also going to want to pick out a well-reviewed paint thinner. Mixing your paint with the right thinner will allow you to get the most bang for your buck, and ultimately allow you to get more paint out of your sprayer. Choosing the right paint thinner will be instrumental in helping your paint job look as good as possible in the end.
Next, you’ll want to tape off any and all adjacent surfaces and areas that you don’t want to ruin with paint. It’s worth covering all flooring, furniture, and other materials that you don’t want the paint to ruin. Drop cloths are a reliable and inexpensive way to do this.
Once you’ve covered the areas you don’t want to be painted, you’ll then need to sand your paint surface to remove any uneven areas. You’re also going to need to use a tack cloth to remove any sanding debris from the area you’ll paint.
Selecting the right paint tools
Once you’ve properly readied your painting area, you’ll be good to start painting with a paint sprayer and air compressor. There are literally hundreds of paint sprayers on the market, so make sure you select the one that will work best for you and the job you’re looking to complete.
Your first option is a siphon gun. These types of sprayers have a container that hangs under the gun body. Many people picture these types of guns when they think of spray paint guns, however, siphon guns aren’t as efficient as you might assume. They demand comparatively higher air pressure and don’t cover a large area when you use them. It’s going to take you a longer amount of time to paint using a siphon gun. However, if the area you’re painting is small, a siphon gun could be the way to go.
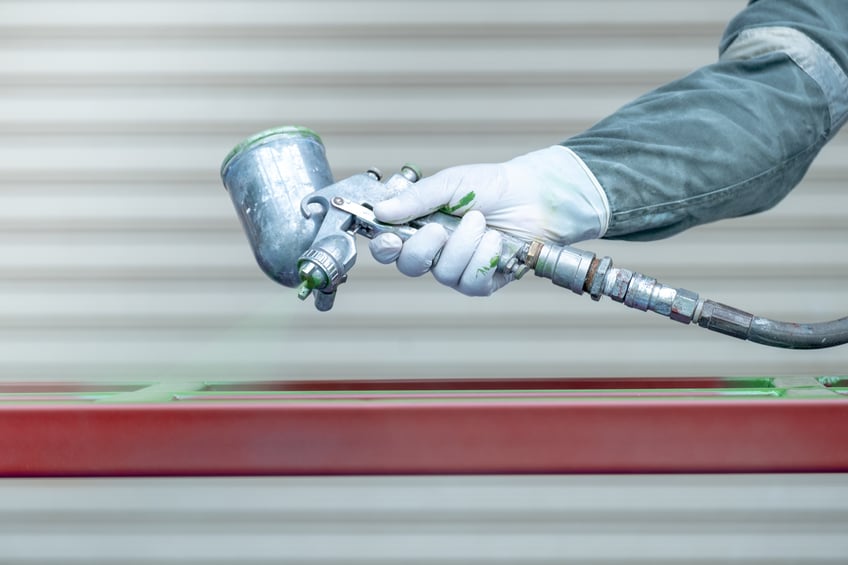
The second option is known as a ‘gravity gun’. These are similar to siphon guns because they too store paint in a container, but a gravity gun’s container is attached on the top of the gun body instead of on the bottom. Gravity guns require much less air pressure to operate because the paint flows into the body of the gun using gravity (hence its namesake). These tools work much better in small spaces and are easier to use after you get used to how they’re operated. The only downside is that you’ll need a special stand to refill the paint container.

Another common type of paint sprayer is a pressure feed gun. This gun has a pressure pot that is attached to the gun through two hoses. One hose supplies air to atomise the paint, while the other is used to put paint into the gun. Because pressure-feed guns have varying lengths of hoses, they’re typically the most efficient type of spray guns used for paint jobs.
Last but not least, you’ll need to use an air compressor. iSeekplant has hundreds of air compressor suppliers listed all over the country, ranging from Brisbane, Sydney and Melbourne to Canberra, Adelaide, Darwin, and Perth, who can help you at a moment's notice!
Now you can start painting!
Once you’ve nailed which sprayer you’re going to use, it’s time to start painting! You’re able to connect the air hose to the spray gun and activate the trigger-lock button by pushing it. Ensure that all of the hoses are connected to their appropriate sockets and make sure you plug in any power cords to an outlet.
Once your equipment is properly set up, you can switch on the gun. Make sure you adjust the PSI to the right air pressure, then test your paint flow on a piece of paper before you start painting your walls. You’ll be able to adjust the settings of your gun until you get the ideal flow and pressure for your paint job. As you’re working, make sure you are holding the gun about 18-30cm away from the area you’re painting. Be sure to move the gun in a smooth sweeping motion to mitigate the possibility of dripping or running.
Painting with an air compressor and paint sprayer is a breeze. Just about anyone can make their job look professional if they follow the above tips and guidelines! To learn more industry tips and stay up to date with the latest construction news, subscribe to iseekplant’s Constructionsht Blog today.


