


We know our weekend warriors would rather DIY than hand over cash for someone to build a fence for them. Building a fence may seem daunting, but if you take the relevant safety measures and follow our simple guide, you’ll be able to make a fence with ease. Be sure to also check out some extra tips to build the perfect fence.
The Steps to Building a Fence
What you’ll need
- Fencing timber
- Concrete – either builder’s mix and cement at a 6:1 ratio, or pre-mix concrete
- Nails
- A hammer
- A circular saw
- A hand saw
- Levels and chalk-lines
- Pencils/markers
- 100 x 50mm H3.2 treated rails rough sawn
- A shovel or post hole borer
- String
- A ratchet strap (optional)
Step 1 – Safety first! Check if you’re allowed.
As it is with any construction project, it’s important to ask for approval from the local authorities. You might have a gas pipe or wires under the ground in your yard, or a water pipeline. Get your property plan and call the council. You may need to call your electricity provider for information on electrical wires. If that’s fine, you can build a fence up to 2.5m high without a permit. If you’re planning to go higher, you’ll need to make another call.

Those property plans will also help you establish your property boundary accurately. If not, you can try to find your boundary pegs or get a surveyor to help you. You don’t want to build a fence on someone else’s land! You can hire a surveyor on iseekplant.
Step 2 – Dig!
Decide your posts’ height and choose them to suit you. Dig 60cm-deep holes 2m apart with a shovel or pole hole borer. If you’re using a post hole borer, mark a line 60cm above the auger so you know how deep you’re going. If you are having difficulty breaking ground a mini-excavator could be the tool for you! Here you can hire a mini-excavator through iseekplant.
Step 3 – Brace your posts
Place a line of string from the centre of each hole to 5cm away from where you want the face of your posts. Placing the string exactly where you want the face of your posts can affect how straight the fence is.
Place your fence post faces 5cm from the end of the string, starting with your two end posts. Make sure you brace them! Run a line of string between the two posts to mark the height. If you want your fence to be level, use a laser level to make sure it is. You can hire levelling equipment on iseekplant.
Place the remainder of your posts in your holes and brace them, too. You may want to get someone to help you so you’re not holding them up and bracing at the same time. Your line of string will make sure your fence posts aren’t too short.
Step 4 – Mix and pour your concrete
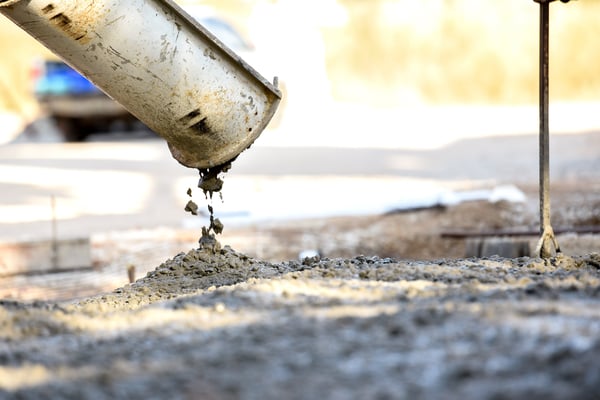
Mix your concrete to whatever it says on the bag. Carefully pour your concrete into each hole around the posts. Compact it with a piece of wood so you don’t get any air pockets. Building a larger more extensive fence? iseekplant can put you in touch with concrete pump suppliers who offer a range of machines for top quality concrete pumping services.
Check your posts are upright and straight again before the concrete sets. Adjust them if they’re not. Leave the concrete to set for 24 hours before you take off the braces.
Step 5 – Rails
Mark where you want your rails to be in chalk. The bottom one should be 15cm from the bottom of your fence posts, and the top 15cm from the top. For fences 1.2m high or shorter, use two rails. Taller fences should use three rails. You can fix them between fence posts or on the faces of your fence posts – whatever you like the look of! For rails between fence posts, measure accurately and cut to length. Rails on the faces of fence posts should span three fence posts. Fix rails with 100mm baton purlin screws, or coach screws if you’re in a windy area. Use two for rails on the fence post faces, three for rails between fence posts. Use a ratchet strap to pull your posts together if you’re fixing rails between posts.
Step 6 – Palings
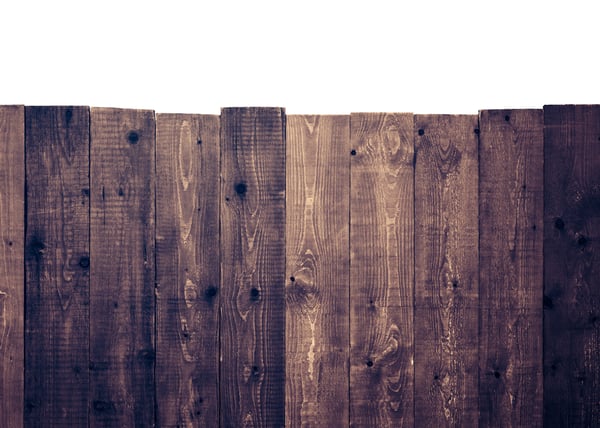
Fix palings to rails with galvanised fencing nails. Use two nails in each rail. Place them 25mm from either side. Sit a board down by your fence posts and attach your palings while sitting on the board – so they don’t quite touch the ground. If your ground isn’t level, it’s ok to follow the contour of the ground. You’ll cut to height later anyway. You can run a line of string between rails to make sure your nails are level if you want it to be perfect. Push the palings tightly together as you nail them using a hammer and chisel. Cut the last paling to width if needed.
Step 7 – Cut to height
Draw a chalk line across the top of your palings and cut with a handsaw. Your shortest paling should be the height of all your palings when you’re done. Cut the tops off your post on a slight angle using a handsaw – when it rains it’ll help drain the water off your posts. Now sit back, let the dog run around in your backyard, and enjoy your fence.
EXTRA TIPS
Building a Picket Fence
To build a picket fence, follow all the steps up to Step 6. Then, instead of pushing the palings together, figure out how far apart you want each interval to be, chalk each location, and attach the palings that way. If you don’t get palings that come with spiked tops, you can cut an angle in them yourself with a handsaw when you cut to height.
Will my fence rot?
Wooden posts rot because of prolonged exposure to soil. You can use rot-resistant wood, like western red cedar, to slow this process. If you use a wood preservative and build it to improve drainage, your fence can last for decades. We recommend the preservative copper naphthenate. Keep your posts stored in a cool, dry area, then apply the preservative and let it soak in for an hour before installing your fence. After installing your fence, make sure you apply the preservative to any cracks that develop. Cracks appearing in wood is fine, as long as you don’t let moisture build up in them without treating the wood. If you’re going to paint or stain your fence, wait a few months before doing so. That’s how long it takes for the wood to air-dry. If you do paint or stain it, use exterior latex paint or oil-based stain; they make it last longer.
Painting and Staining
Generally, staining a fence lasts longer than painting it; wood absorbs stain more deeply than paint, so while paint might scrape off, stain fades over time. Make sure when you stain your fence or hire someone to do it for you, you use oil-based stain. Clean the fence before you stain – this will allow the stain to be absorbed more deeply without dirt blocking it. That means the stain will last longer, better protect your fence from the elements, and all around just look better. If you need help power-washing your fence, hire a pressure cleaner on iseekplant. Getting a professional to paint or stain your fence averages at around $2000.
If your heart is set on painting your fence, make sure you use exterior latex paint for better wood protection. We recommend a coat of primer first to seal the wood. After that, two generous coats or three coats of paint should do it. Let each coat dry for a few hours before applying the next one. The fastest way to paint a fence is with a spray paint – PlastiDip is a good brand to use.
Building A Fence Without Sticking Posts in Concrete
So, you want to build a fence without concrete. To build a fence without sticking posts you can use a “No Dig Ground Anchor,” or get creative building your own post out of rock, creating a wired cage for them and stacking them within that cage. The No Dig Ground Anchor can be hammered into the ground and comes with attachments for your posts; it’s easier than the alternative.
To keep up to date with all of the latest industry and project news, subscribe to iseekplant's Constructionsht blog today!